|
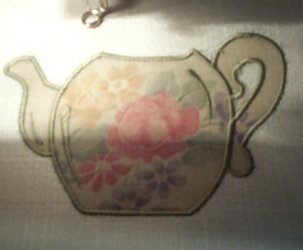
Pammy Mosteller from Millville, Pensylvania, USA, sent me this cute project idea. She first embroidered
an appliqué teapot and afterwards she added the flowers and the text. This is a wonderful idea to embroider
on kitchen towels.
|
|
|
|
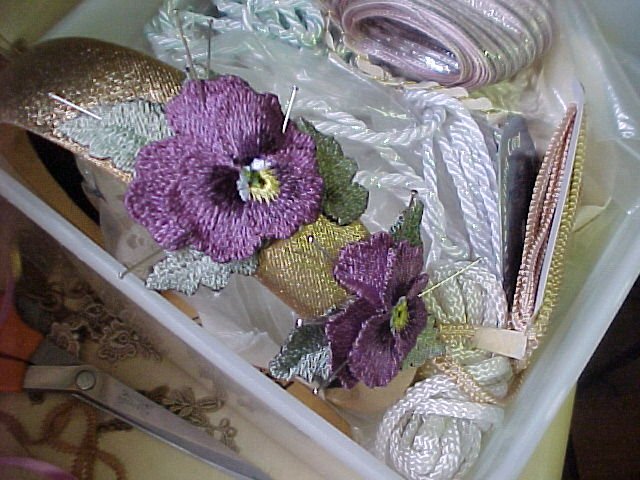
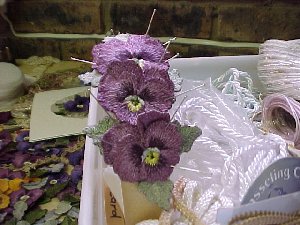
Several of the tiny 3-D Pansies look beautiful on an Alice band. I bought one, which was covered with
a golden fabric, and which was padded a little. Just glue the pansies and leaves into place. It helps,
if you pin the leaves and pansies, into position, before you start to glue them onto the Alice band.
|
|
|
|
|
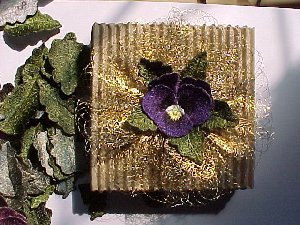
The 3-D Pansies are also ideal to make a little arrangement on gift boxes. With fancy ribbon, a pansy,
and a few leaves, I ended up with this easy arrangement, which can be used on top of a gift, wrapped
in plain paper.
|
|
|
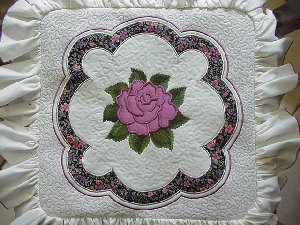
How I embroider on quilt blocks, or pillow fronts.
|
|
As many of you might have noticed, I abslolutely love stipple quilting. I also like to use stippling
as a decorative stitch, without the quilting. I usually stipple quilt my blocks first, and do the embroidery
afterwards. It is easier to hoop the fabic, and the wadding, if it was quilted first.
|
|
For those of you, who may be interested, on how I did this pillow, I am going to give step by step
instructions, for this project.
|
|
|
|
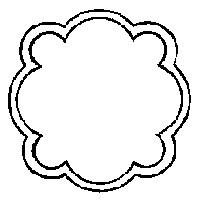
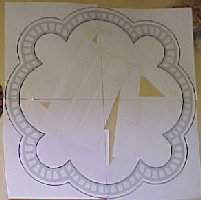
I divided the image on the left in 4 equal parts, as I wanted it in a much bigger size. Then I printed
the image, in the center, 4 times. I also set the page setup, to "Fit to Page" when I printed this quarter
image. The image on the right hand side, shows how I cut the images, and put them together, to give me
a large image, which I could trace on to the Stitch Witchery. I don't know other brand names for Stitch
Witchery, but we also call it applique paper. It has glue on one side, which you iron on to the wrong
side of the applique fabric.You can download a file, to print out, here.
|
|
|
|
|
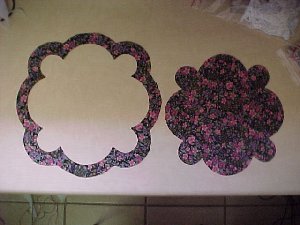
After I traced the template onto the Stitch Witchery, with a pencil, I cut the Stitch Witchery, close
to the pencil line. I ironed the whole shape of the template onto the wrong side of the applique fabric.
Then I cut it out very carefully, excatly on the pencil line. The inner part of this piece, can also
be used for another project!
|
|
|
|
|
After I cut out the shape, I carefully removed the paper backing, of the Stitch Witchery. Place the applique
part in position, on your block, and iron carefully, to fuse it onto the background fabric. When this
is done, put the whole block on a piece of wadding, just larger than the block. Pin it onto the wadding.
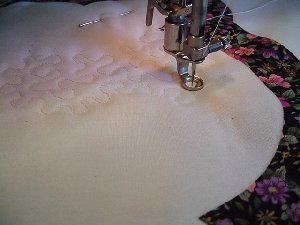
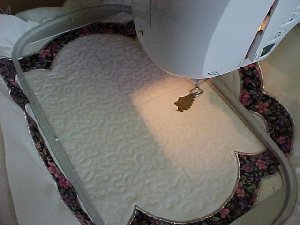
I never baste, as this is one of the rules, I believe to break!!!! The next step was to stipple quilt
the inner part of the block, inside the applique edge pattern. I used the same color thread for the inner
stippling, than the color of the background fabric.
|
|
|
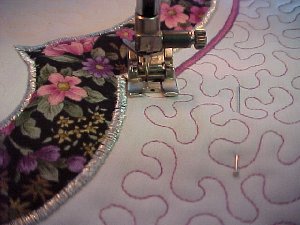
Oops! I forgot to take a picture of the next step. I used a silver metallic thread, for the applique.
The stitch width of the satin stitch was about 3 mm wide. I used the silver metallic thread, for the
satin stitches at the inner, as well as the outer edges, of the appliqué. I marked the center of the
fabric, with a blue water erasable pen. I used the template of my embroidery hoop, to hoop the fabric
in the correct position, before Louise started with the embroidery. What I also forgot to mention earlier,
is that I fold the fabric in half, and then in half again, to get the center point. I think that is common
knowledge, that was why I forgot to mention it<gg>
|
|
|
|
|
|
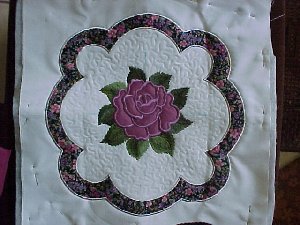
With the embroidery done, I only had the outer edge of the block, to stipple quilt. I did the stipple
quilting with a contrasting thread. You can use any matching color, that is in the design, or in the
appliqué fabric.When the stippling was done, I used the same color, and stitched another satin stitch,
all around the appliqué, to finish off the block. I don't draw lines for this, but only use the width
of the machine foot.
|
|
|
|
|
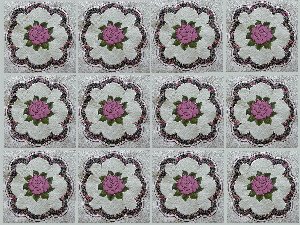
In my imagination, I could see this block as a bedspread. Because I don't have time for sewing anymore,
I only ended up with a pillow. If it wasn't for the help of my friends, I wouldn't even have been able
to complete the pillow<g> Marie did the roll seam of the frill, with my serger. Louise did the embroidery,
and Denita did the gathering, and stitched the frill on. The backing of the pillow still have to be finished.
I hope for another friend to do it for me<ggg> Unfortunately no one of them can do stippling and machine
appliqué, so I had to do that myself!!!
|
|
|