|
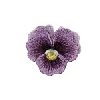
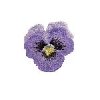
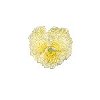
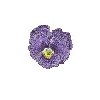
Three Dimensional Pansies - $30
|
|
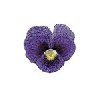
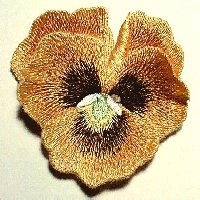
With this project, I won a first price at the Las Vegas Convention, MEEC 2000. I did these 3-D pansies
for my own personal projects, but people were so excited about them, I promised to release a set of 3-D
pansies. It is now almost a year later, and many people are anxiously waiting for these.
|
|
|
|
|
|
You are welcome to download a zip file, which contains all formats, a color chart, as well as the instructions.
Elva Mungai, a Bernina educator, wrote the instructions for me. By downloading this design, you also
agree that you won't write to me for further instructions, or any help. More than what is already included
in the instructions, I cannot give. You will also find suggested fabrics, to use for these pansies, on
the instruction sheet. This download is also to give you time, and to make sure you know how to embroider
these designs, before you decide to buy it!
Good Luck!!!!
|
 |
|
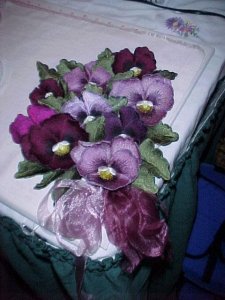
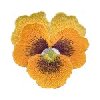
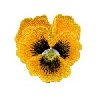
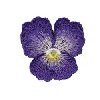
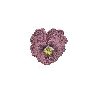
Peggy McKnight sent me this image, to let me know she managed to put the 3-D pansy together. I loved
her pansy so much, I decided to replace my sample image, with hers. I hope you don't mind Peggy!!!
|
|
|
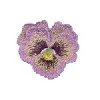
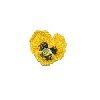
Please try out the sample pansy first. Only order these designs, if you managed to put the sample
pansy together, sucessfully.
|
|
I wanted to sell these 3-D Pansies only to people, who tried them, and who let me knew, that they
were able to put them together!!!! Unfortunately it would mean too much e-mail for me, and it would
also cause problems, for the two months, I will be traveling the USA.
|
|
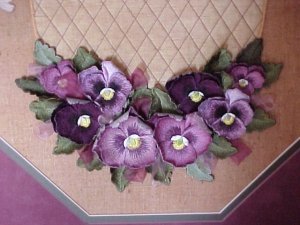
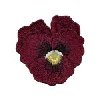
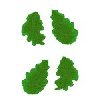
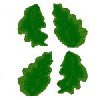
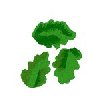
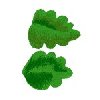
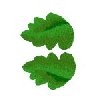
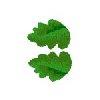
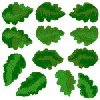
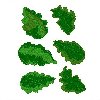
The longer people had to wait, the bigger this collection became. I started to use these pansies for
my new trunk show projects, and I created more sizes, and mirror images, as I needed them, for my own
projects. The same goes for the leaves of these pansies. I also put a lot of leaves on on design page
area, so you can embroider a lot of leaves, all at once! The way you see these images, is the way they
stitch out on each design page area, for a 4x4 inch hoop. The position of the leaves have been adjusted
to fit the 3� x 5 inch hoop for the Janome machines too.
|
|
|
|
|
|
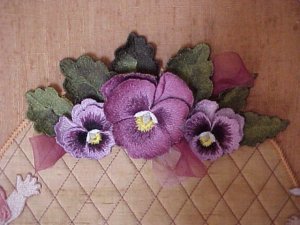
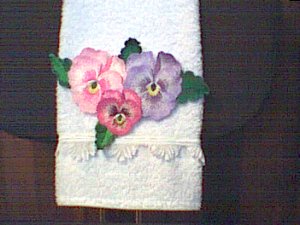
This beautiful hand towel was made by JoAn Wynn, when she tested these 3-D pansies for me.
|
|
|
|
On April 3, I learnt that JoAn passed away, on March 27th, 2001. Her daughter, Becky Short, wrote
to me, and told me about it. JoAn was busy with more of these towels, as she was in a towel swap group.
Now Becky will complete these towels, in honor of her mother.
|
|
|
|
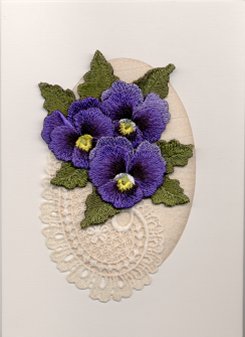
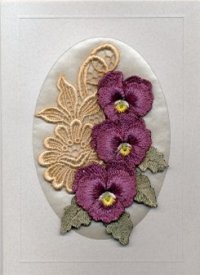
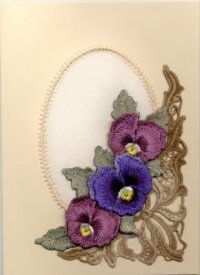
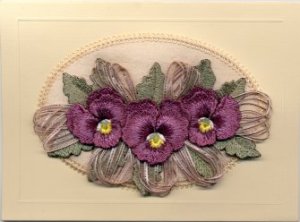
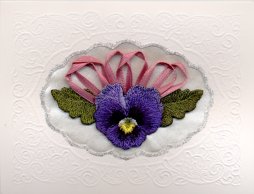
A few of the embroidered greeting cards, I am going to take with me, to the United Kingdom, and to
the USA.
|
|
|
|
|
With these cards, I had a lot of fun. I used all kinds of fancy ribbons and lace, as well as different
types of satin, for the oval background.
|
|
|
|
|
|
|
The die cut cards, I used for the greeting cards above, are available at:
|
|
|
|
|
|
|
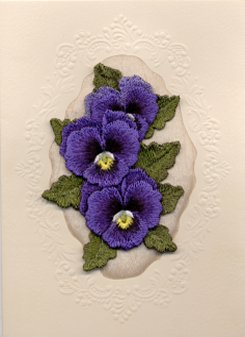
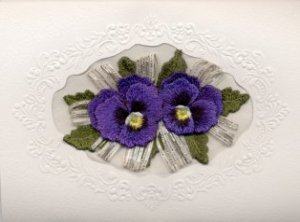
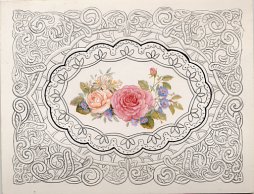
Because I live in a rural area, where most things are difficult to find, I started to make my own blank
greeting cards. For the card above, I used an embossed greeting card, that was bought in the USA. I traced
the embossing with a pencil, because the scanned images don't show the embossing very well. The black
line, shows where I cut out the picture, inside this card, and replaced it with my own arrangement.
|
|
|
|
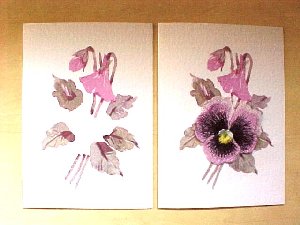
For those of you, who feel you lack creativity, here is what you can do. Find any pansy drawings,
on old greeting cards, gift wrap, books, clipart, etc. Scan the image and do some editing in any graphics
program. Just remember, these pictures may be copyrighted! To be on the safe side, do some editing and
take some parts out, or move the leaves to different positions. I did this, just to give you an idea,
of what could be done. I also removed the original pansy, on the drawing. Then I printed the card, and
glued one of my 3-D pansies on to the card. Voila!
If you make use of this idea, PLEASE don't
sell these cards. I definitely don't want to encourage people, to make themselves guilty, or to become
in trouble, because of copyright issues. Just do it for personal use, or as quick gifts, for family and
friends.
|
|
|
|
|
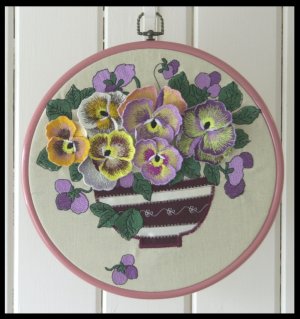
Caroline Chevis, who lives in Hervey Bay, Queensland, Australia, made the pansies in shades of Pink.
Her friend, Gloria, made the one in theYellow shades. This is what Caroline wrote: " The bowl was appliqued
first, then machine embroidery in the background. Then the pansies placed in position. We stiched the
pansies out on musline with plastic underneath the hoop. This made the pansies roll up nicely." Please
e-mail Caroline
|
|
|
|
|
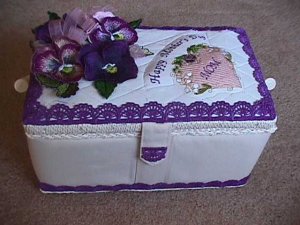
Joan Richardson decorated this beautiful sewing box for a Mothers day giveaway. It was for their new
Sewing machine shop that has recently opened. Please E-mail Joan
|
|
|
|
|
|
|
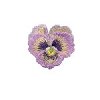
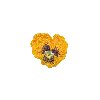
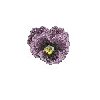
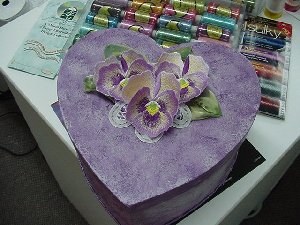
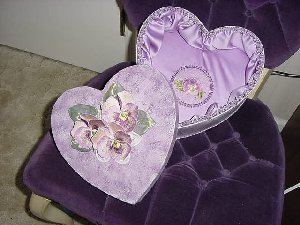
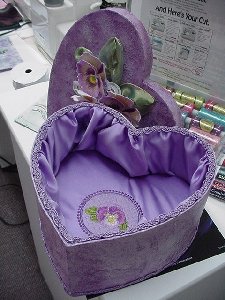
Maggie Lankford, of West Columbia, South Carolina, USA, made this beautiful Lavender heart box. It
was for her friend's new Babylock dealership in West Columbia. It was one of the prizes for grand opening,
just like Joan Richardson's sewing basket was. This dealer friend of them, are lucky to have such talented
ladies, as her friends!!!Please e-mail Maggie.
|
|
|
|
|
|
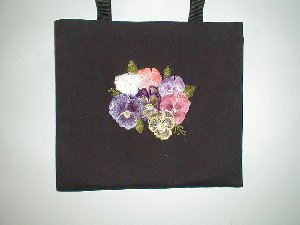
Susan Hanson made this beautiful tote bag. Please e-mail her.
|
|
|
|
|
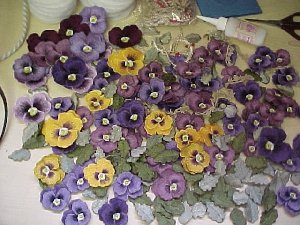
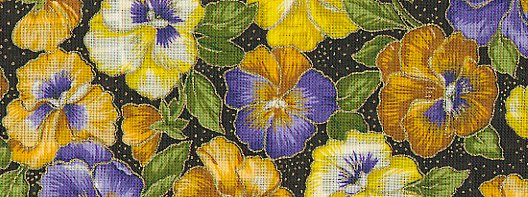
I like to have a lot of 3-D pansies, and leaves, on hand, in different sizes, before I start with new
3-D pansy projects. I was burning the edges of the pansies, and leaves, with a soldering iron, and just
put them aside, as they were finished. When I looked at all these pansies, I suddenly remembered a piece
of pansy fabric, I bought in the USA, last year. Then I got the idea to use this pansy fabric, and combine
it with the 3-D pansies, for a new project.
|
|
|
|
|
|
|
|
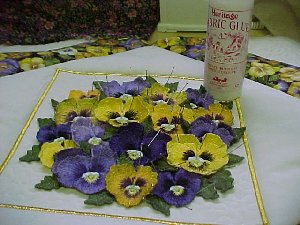
Because I had to complete a number of projects, in the shortest time possible, I cheated, and used a
fabric glue, to glue these pansies into place. The name of the glue is Heritage Fabric Glue, and it is
a multi-purpose fabric adhesive.
|
|
|
|
|
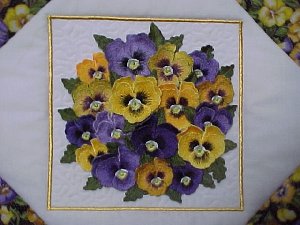
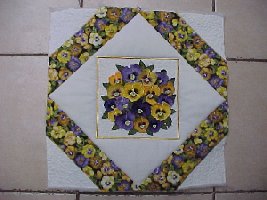
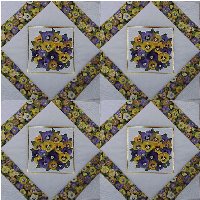
I haven't decided what to do with the completed block yet. I played with the image, to give you an idea,
of how it will look like, if you repeat the same block, for a bedspread.
|
|
|
|
|
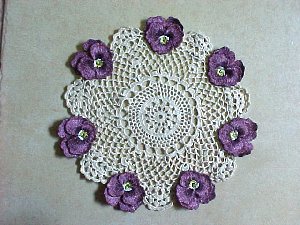
You can use a bought doily, and just glue the pansies on every second scollop of the doily, like I did.
Just like it is, on the left hand image, you can use this doily under a bed lamp, or as a center piece,
on a small round table. I am going to make a pillow, which is still in the "manufacturing" stages<g>
|
|
|
|
|
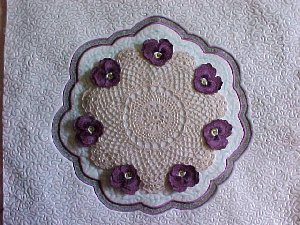
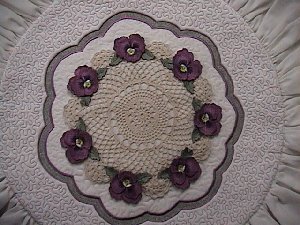
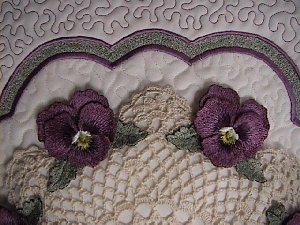
Fortunately I was able to finish a round pillow, before I left for the USA. The picture on the right,
is a close up view, of the border, I created around the doily. I stitched two satin stitch rows, with
the same color thread, as the pansy. Then I took the same green embroidery thread, I used for the leaves,
between the two satin stitch rows. The filling I did free hand, with the darning foot of my sewing machine.
|
|
|
|
|
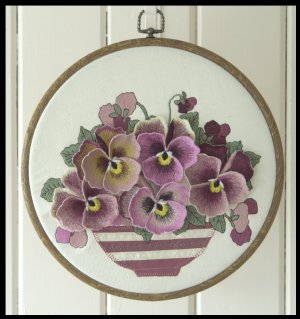
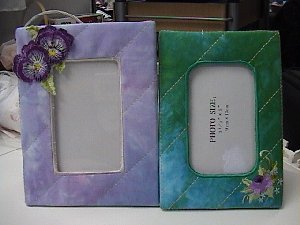
Malgorzata ( Gosia) Puzniak made this picture frame, using the 3-D Pansies designs The other picture
frame was done with a design from my Flower Collection 1 designs. Please e-mail Gosia
|
|
|
|
|
|
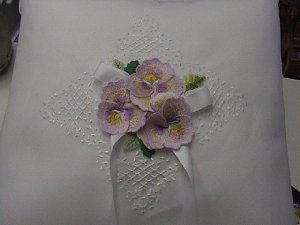
Gosia also did this delicate project. She did the white embroidery on voile. This is a cover, for a
plain white cushion. Beautiful!!!!!
|
|
|
|